Plarn Instruction
- Noodle Team

- Feb 3, 2020
- 3 min read
Updated: Apr 10, 2020
Explanation
If you have a bunch of single use plastic shopping bags sitting around and want to be able to make something out of them, plarn is a great option! There are numerous tutorials on the internet on things you can make, especially for reusable shopping bags. Here, we will show you how to make plarn and use it to create a cool, plastic skin for your flexible robot. You can use whatever color bags you have, in the tutorial we use all approximately the same color grey. Don’t worry if you don’t have enough of a single color or if the bags have writing and images, the coolest part of plarn is seeing what the bags look like and what color patterns come out of crocheting them.
Making the Plarn
The first step you will want to do is to collect your bags. You can make as much plarn as you would like, but we would suggest starting with 5 or 6 bags then add on more as you run out.

Lay out your bag flat, folding in the sides so you have nice square corners on the bottom.

Now, fold the bag in half 2 times along the height (folding the handles onto each other).


Cut off the handles from the top and the bottom of the bag, preserving as much of the body of the bag as you can while keeping the lines straight. Recycle the removed bits.

Fold the bag in half the same direction one more time.

Cut the bag into strips that are about a half inch in width. You should now have a pile of small rectangles of plastic. Repeat the above steps for all the bags you want to make into plarn for now, before moving onto the next steps. Don’t worry too much about exactly how many bags you need to cut, it is very easy to add more later if you don’t make enough and you can use the extra for something else if you make too much.

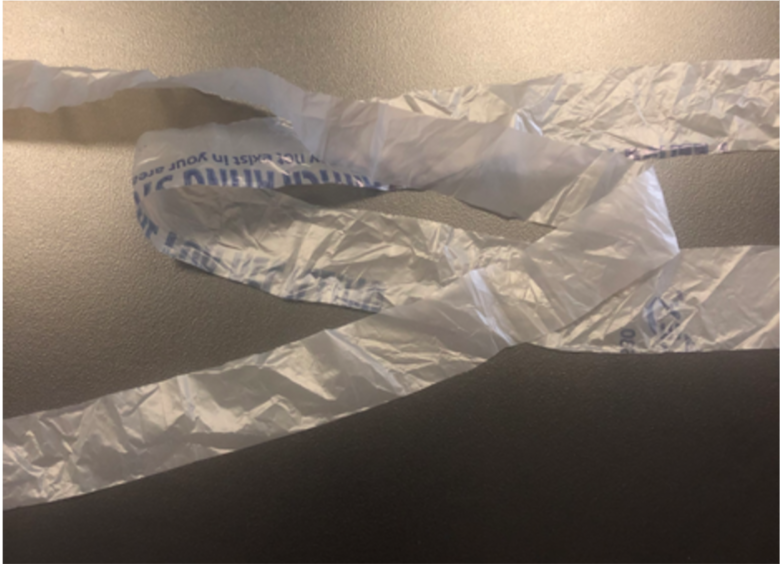
Once you have your plastic strips cut, unfold one to see their shape, It will be a ring of plastic.

Open a second one, and lay it over the first. You will be connecting them using a loop knot (you may be familiar with it if you have any tags attached to bags using loops of plastic material). Follow the images below to perform the knot.


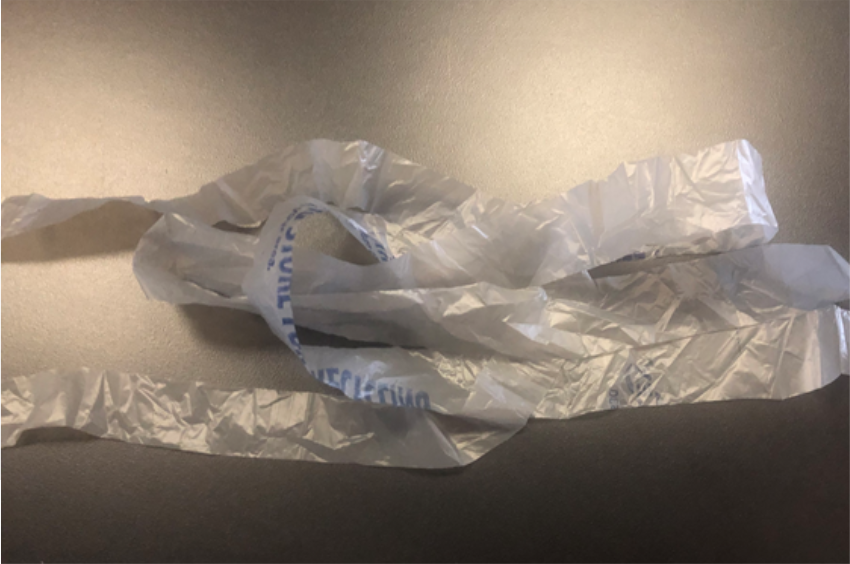

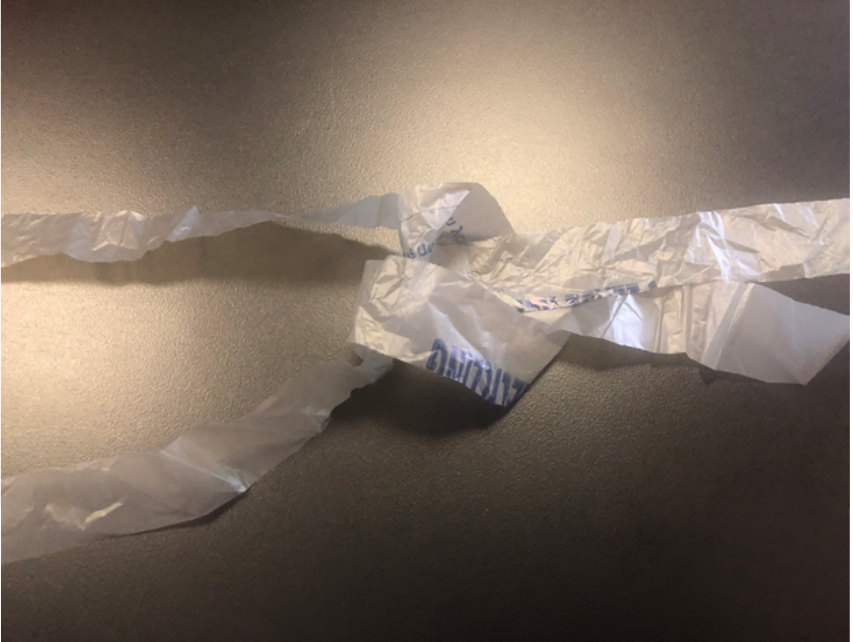

Make sure the knots line-up so that each side of the loop is an even length, as misaligned loops will make it more difficult to crochet and will show up in the final skin.

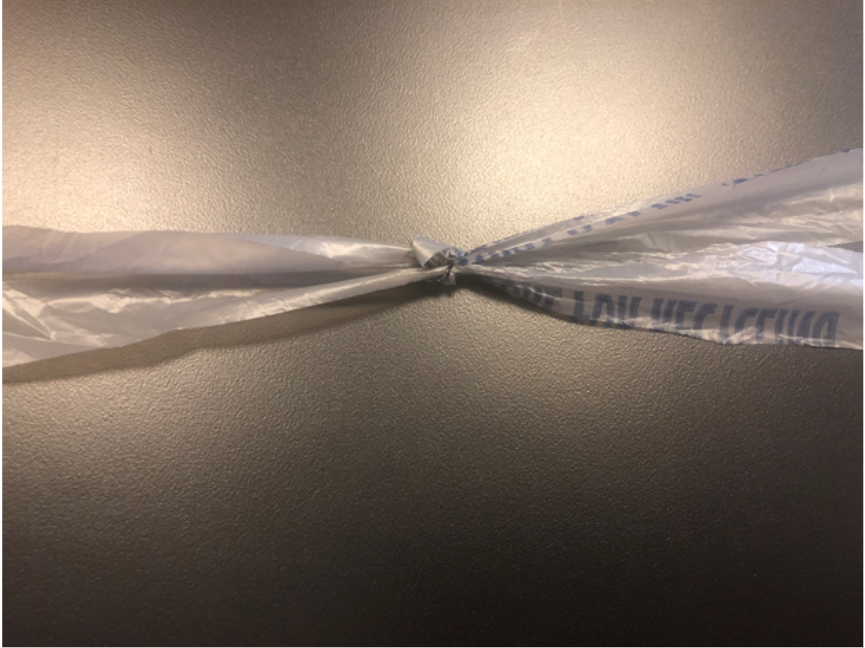
Take care not to pull too hard so you don’t bend or snap the plastic. If you do, no need to worry as you can just tie the two ends back together.

Repeat the knot for all of the loops you have made. Once you have them all connected, you can loosely wrap it into a ball to prevent knots from forming. Don’t wrap too tightly, or the plastic will deform and potentially break.


If you need to add more on later, wait until you have only two or three bag links remaining from the original plarn ball. At this point, simply use the end as the place to start adding new links as you did when making the original plarn ball. Once enough is added, you can re-ball the plarn and continue working.
Crocheting the Skin
Use a size L crochet hook (8.00mm)
Abbreviations:
Single crochet - sc
Chain - ch
Gauge
As with the regular skin, the first thing to do is make a gauge to check crochet tension. It is important with the plarn to crochet looser than you think you should. Unlike regular yarn, plarn will stretch, deform, and snap easily if not handled with care. Once crocheted, it will be stronger and won’t be as much of a concern.
To make the gauge, chain 11. (Crochet 10sc, skipping one chain at the start. Chain 1.) Repeat the parentheses a total of 5 times. This should make a gauge block about 4.5 in wide and 2.5 in tall. Adjust the crochet hook size or tension (without crocheting so tightly the plastic deforms) until you can make a gauge this size.

Skin
Start: ch 26

1-33: 25 sc


Tie off ends.

You are now ready to place the skin over your robot arm. This skin pairs well with the regular robot gripper, looking shiny and closest to metal of the options.


Comments